


System requirements
To install and run Flutter, your development environment must meet these minimum requirements:
Operating Systems: Windows 10 or later (64-bit), x86-64 based.
Disk Space: 1.64 GB (does not include disk space for IDE/tools).
Tools: Flutter depends on these tools being available in your environment.
Windows PowerShell 5.0 or newer (this is pre-installed with Windows 10)
Git for Windows 2.x, with the Use Git from the Windows Command Prompt option.
If Git for Windows is already installed, make sure you can run
gitcommands from the command prompt or PowerShell.
1.Install Flutter SDK on Windows
Step 1
Go to the official website of Flutter Download Flutter SDK. Click Windows
Step 2
Download the latest version of the flutter stable version.

Step 3
Extract Flutter SDK to C:\flutter. Once you extract it and open the flutter folder then you see a folder called bin. Open bin folder and copy current path.

Step 4
Click the Search icon in your Windows taskbar and environment variables you see search results called Edit the System Environment variables and then click enter.
Step 5
You see one popup called System Variables. At the bottom of the popup, you see one button called Environment Variables and click that button. In System Variables, you see an option called path. Select the path and then click the edit option at the bottom.

Step 6
Click the New button and add copied Flutter SDK Path save it and close.

Step 7
Whoo!.... We successfully installed Flutter in Windows. Let’s check flutter using flutter doctor. Open your command Prompt and enter flutter doctor (All lowercase)

2.INSTALL VISUAL STUDIO CODE
Step 1: Visit the official website of the Visual Studio Code using any web browser like Google Chrome, Microsoft Edge, etc.
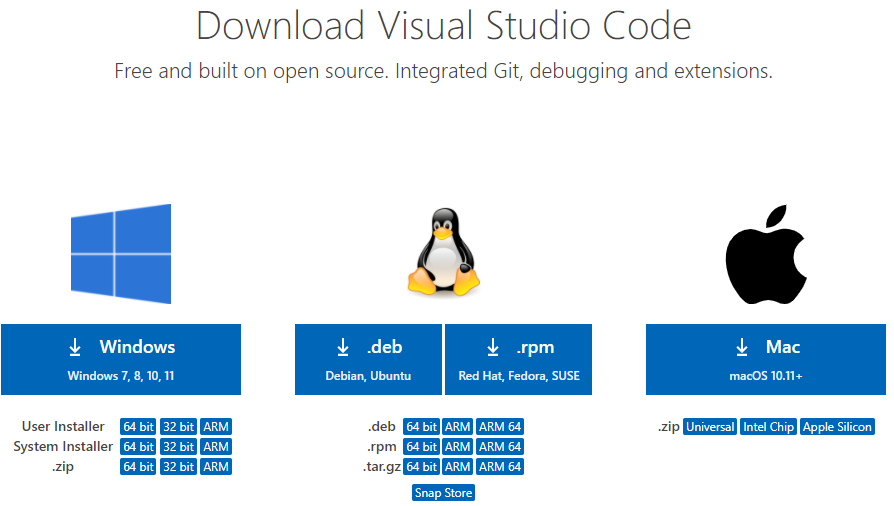
Step 2: Press the “Download for Windows” button on the website to start the download of the Visual Studio Code Application.
Step 3: When the download finishes, then the Visual Studio Code icon appears in the downloads folder.

Step 4: Click on the installer icon to start the installation process of the Visual Studio Code.
Step 5: After the Installer opens, it will ask you for accepting the terms and conditions of the Visual Studio Code. Click on I accept the agreement and then click the Next button.

Step 6: Choose the location data for running the Visual Studio Code. It will then ask you for browsing the location. Then click on Next button.

Step 7: Then it will ask for beginning the installing setup. Click on the Install button.

Step 8: After clicking on Install, it will take about 1 minute to install the Visual Studio Code on your device.

Step 9: After the Installation setup for Visual Studio Code is finished, it will show a window like this below. Tick the “Launch Visual Studio Code” checkbox and then click Next.

Step 10: After the previous step, the Visual Studio Code window opens successfully. Now you can create a new file in the Visual Studio Code window and choose a language of yours to begin your programming journey!

So this is how we successfully installed Visual Studio Code on our Windows system.
3.CHECK OUR INSTALLATION IS CORRECT OR NOT
Type 'flutter doctor' in command prompt.
Avoid error raised from android studio.We will shortly install before creating projects.
Check 'flutter SDK' and 'Visual Studio Code' are installed properly or not.
If not re-intsall and add environment variables properly
Conclusion
In this session, we saw how to install flutter and vscode on windows. I hope this article will help you. In the next article, we create the first flutter application .
THANK YOU!
##